library(shiny)
library(readr)
estate <- read_csv("./data/estate.csv")

ui <- fluidPage(
  tableOutput("estate")
)

server <- function(input, output, session) {
  output$estate <- renderTable({
    head(estate)
  })
}

shinyApp(ui, server)File Upload
Learning Objectives
- Learn how to upload datasets for use in the Shiny App.
- Chapter 8 of Mastering Shiny.
- Shiny Cheatsheet.
- Optional Resources
Static Dataset Upload
If your Shiny app is designed to analyze only a single dataset (which might contain multiple files), then you should upload it at the start of the app.
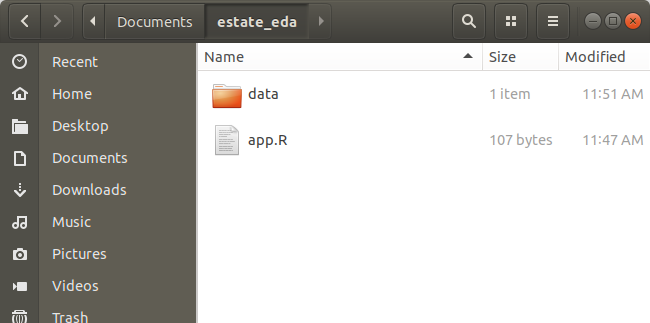
- Create a new “data” folder in your app.
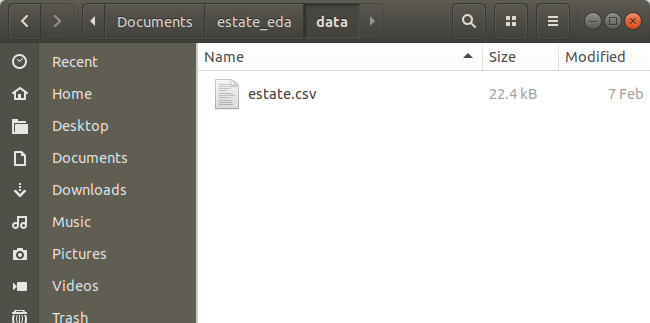
- Place all data files in the “data” folder.
- Read in these data at the start of the app.
New data folder:
Put data in data folder:
Load data at beginning of app:
When a Shiny app is run, the location of “app.R” is the location of the working directory, so all file upload/download must be done from that location as a reference point.
Interactive File Upload
Use the
fileInput()function in the UI to allow users to choose the source of the dataset.library(shiny) ui <- fluidPage( fileInput("file", "Where is the file?") ) server <- function(input, output, session) { } shinyApp(ui, server)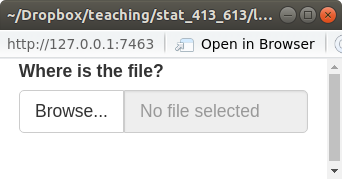
In the
server()function, the element ininput(in this caseinput$file) is a data frame with the following columns:name: The name of the file on the user’s computer.size: The size of the file in bytes. Shiny only accepts files up to 5 MB. To increase it to 10 MB, type the following somewhere in “app.R”:options(shiny.maxRequestSize = 10 * 1024^2)type: The file extension (text/csv, text/plain etc)datapath: A temporary path file.
Useful arguments:
accept: What file extensions are acceptable (".csv",".txt", etc).buttonLabel: Customize label of button.multiple: Can the user upload multiple files?
Example Shiny App
library(shiny)

ui <- fluidPage(
  fileInput("upload", NULL, buttonLabel = "Upload...", multiple = TRUE),
  tableOutput("files")
)

server <- function(input, output, session) {
  output$files <- renderTable(input$upload)
}

shinyApp(ui = ui, server = server)
General strategies:’
- Place code to read in files inside a
reactive()call. - Inside the reactive call, always use
req()to wait to read in data until the path is available. - Save the read-in files as reactive elements.
- In the server function, you use the
datapathvalue as thepathargument inread_csv(),read_tsv(),readRDS(), etc.
library(shiny) library(readr) ui <- fluidPage( fileInput("file", "What file?", accept = "text/csv"), tableOutput("head") ) server <- function(input, output, session) { data <- reactive({ req(input$file) read_csv(input$file$datapath) }) output$head <- renderTable({ head(data(), 5) }) } shinyApp(ui, server)- Place code to read in files inside a